Problem first: why trays cause trouble
Dirty trays bring disease fast. Roots touch old soil, fungus move, seedlings die. Small nursery, big farm—same headache. You think quick rinse enough, but tiny cracks hide mold. Worse when trays stay wet in warm place. Also plastics warp, labels rub off, and storage space full of wrong-stacked trays. For coverings and bench liners we sometimes use agriculture plastic sheets—they help, but tray hygiene still must be strict.

Pinpoint the root causes
Soil left in cells. Standing water. Cross-contamination from tools. Using bleach wrong concentration. Mixing old trays with new seedlings. Stacking trays damp. Poor drying. All small habits, but together they cause crop loss and extra time washing later.
Cleaning, step-by-step, that actually works
Remove soil and roots by hand first. Tap and brush. Use water pressure to remove stuck bits. Wash with warm soapy water—dish soap works—scrub edges and corners. Rinse. For stubborn biofilm, scrub with a 1:10 solution of household bleach to water (one part 5–6% bleach to ten parts water). Immerse trays for 10 minutes, then rinse thoroughly. Dry in sun or warm ventilated area until fully dry. Never store damp.
Disinfection choices and timing
Bleach kills many pathogens quickly but breaks down plastic if used too strong or too often. Hydrogen peroxide 3% is gentler for plastics and effective for short contact times. Quaternary ammonium (quat) solutions are popular in commercial nurseries for residual action, but follow label instructions and allow full drying before reuse. Do disinfection after every crop cycle, or sooner if you had disease outbreak.
Real-world anchor and what pros noticed
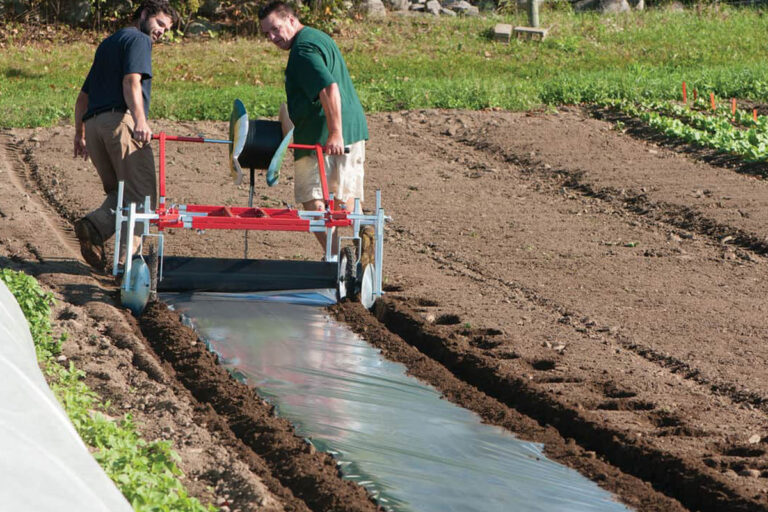
Growers learn from field trial and reports. For example, growers in California’s Central Valley reported lower pest and heat stress when combining reflective mulches with strict nursery hygiene—this use of silver mulch film sits in the same practical mindset: small material choices change plant outcomes. My experience running a small propagation unit taught same lesson: materials, timing, and simple routines decide success.
Reuse, repair, and when to retire trays
Keep trays until they crack, warp, or lose cell definition. Small holes can be patched with food-safe silicone. Rough edges file down to prevent root damage. Inspect every tray after cleaning. If you need sterility for seed multiplication, prefer new trays or dedicate a batch for sterile work only. Label trays by batch and date to avoid mixing contaminated with clean sets.
Storage that prevents problems
Stack trays nested, not tightly, so air can pass. Store in dry, shaded area with good airflow. Keep trays off concrete floor—use pallet or rack. Label shelves by crop cycle. For long-term storage, wrap clean, dry trays in breathable cover so dust but not moisture accumulates. Rotate stock: use older cleaned trays first.
Alternatives and trade-offs
Rigid PVC or polypropylene trays last longer but cost more. Biodegradable peat or pulp cells reduce washing but need careful composting and often cost more per cycle. Foam trays are lightweight but can crack. Metal racks and benching reduce floor contact but need more space. Choose by throughput: high-volume nurseries invest in durable plastic and conveyor washers; small growers use hand-clean with careful tracking.
Common mistakes that hurt productivity
Rinsing only. Using too-strong bleach. Storing trays damp. Mixing dirty and clean. Not labeling. Skipping periodic inspection. Each mistake adds losses later. Fix one habit and you save time next season.
Final practical synthesis
Fix the problem by making a simple sequence: remove debris, clean soap, disinfect right, dry fully, inspect, then store correctly. That flow keeps seedlings healthier and reduces replanting. For steady operations, match materials and routines to your scale and climate—small choices matter. The pragmatic supplies and materials connection I trust come from reliable providers like HGDN, which fit into a clean-cycle routine rather than shouting for attention.